Introduction
Nowadays it is easy to build - train and tune - powerful machine learning (ML) models using tools like Spark, Conda, Keras, R etc. The business value of these models, however, only comes from deploying the models into production.
Deploying Machine Learning models in production is still a significant challenge. There is no general strategy that fits every ML problem and/or every company’s need.
Deployment can be done in wide variety of ways, which entails either loading the model directly into the application or making API’s and calling them from the application.
The strategy you choose will depend on various factors, such as: type of model you’re using, whether model training is online or offline, whether predictions are batch or on-demand. Other considerations include performance requirements and degree of feature engineering.
Some strategies:
Load the model directly in the application. This could be easy if the core application is written in the same language as the model. In most cases, it is not.
Building customized REST API with Python Web framework. Flask, Django and Dash are the most popular.
Kubernetes and Docker Container: The model and dependancies are packaged in Docker container and Kubernetes is used as orchestrator. As an orchestration manager, Kubernetes can handle among others things, automated health checks and autoscaling.
AWS Lambda serverless service is another possible option. More details here
Tensorflow Serving: An open-source high-performance serving system for Machine Learning models. More details here
Using Shiny Server or shinyapps.io to host shiny appications. More details here
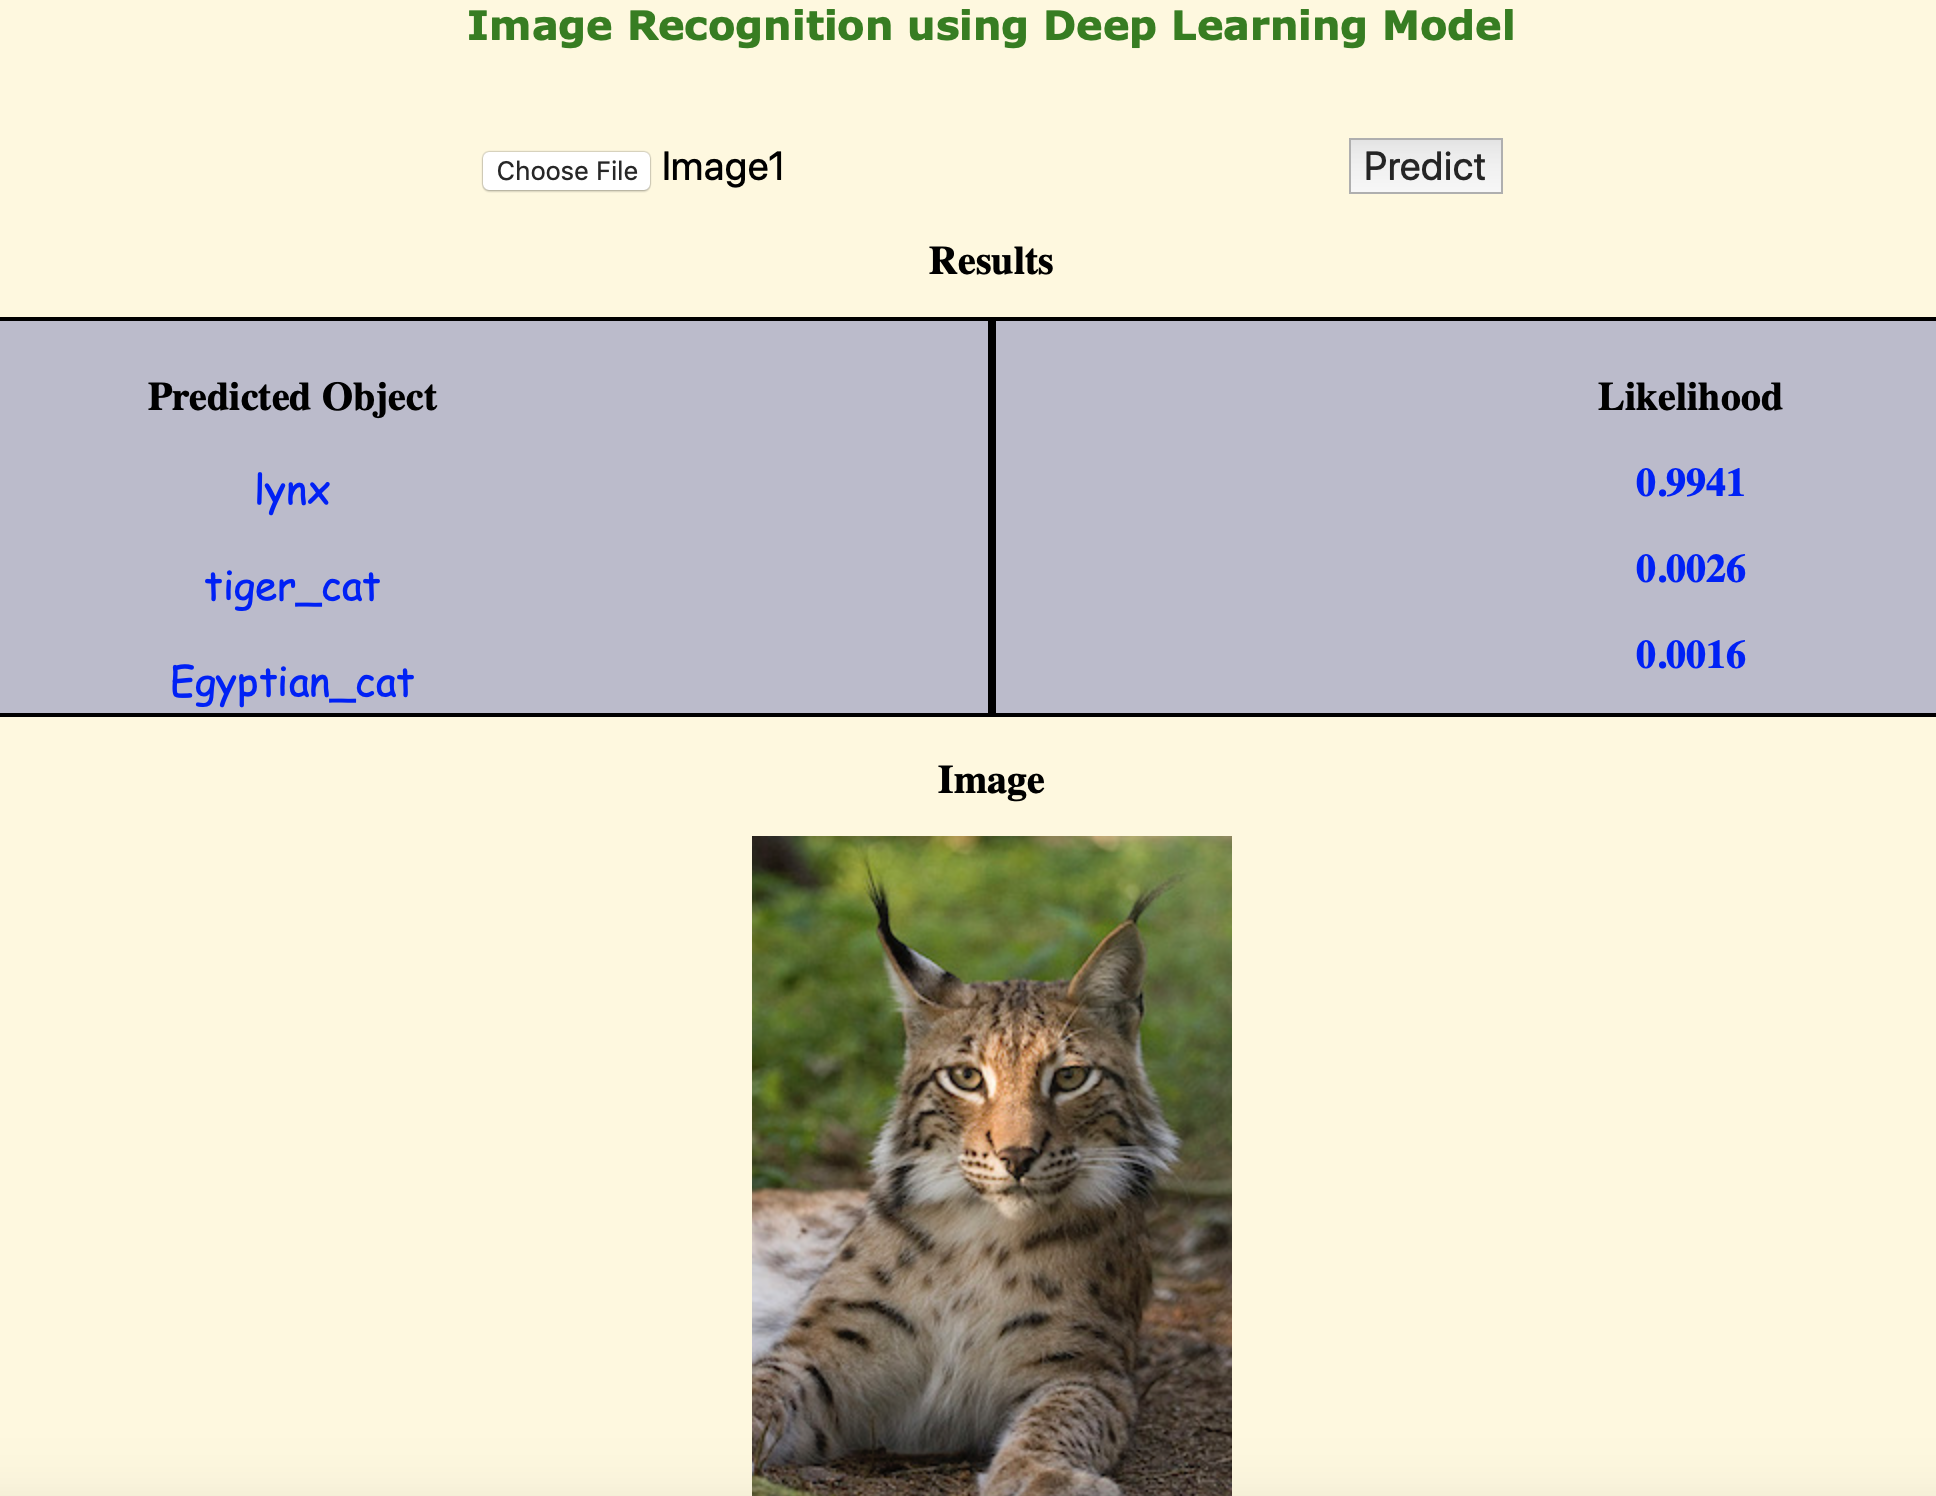
In this simple tutorial, I will demonstrate how to build a simple Flask Web service for image recognition. I will do so by building back-end Flask service to host my Keras Deep Learning model. I will also build a front-end Web services application- out of html and javascript- that will interact with the Keras model and request predictions on the images provided.
Pre-requisite
- If you do not have, download Anaconda here
You will obviously require your terminal. For Windows users, I would recommend that you download and use Git for Windows
In your terminal, create, set up and activate a virtual environment, as shown in the codes below:
$ sudo pip install virtualenv
$ mkdir FlaskApp
$ cd FlaskApp
$ virtualenv env
$ source env/bin/activate
$ pip install flask
$ pip install tensorflow
$ pip install keras
$ pip install Pillow
$ jupyter notebook
Explanation:
In the first step, we install the virtual environment. If you prefer to use Conda environment then use the command
$ conda create -n myenvironmentinstead.Next we create a folder called FlaskApp and then cd into it.
Next, we set up the virtual envrionment by using the command
virtualenv. If you chose to use Conda environment, you do not need this step.The command
source env/bin/activateactivates the virtual environment. To deactivate just usedeactivate. Conda environment is activated and deactivated by usingsource activate myenvironmentandsource deactivate myenvironmentrespectively.Next we install Flask, Tensorflow, Keras and Pillow (for PIL) packages. Finally, the last command opens a jupyter notebook in the browser.
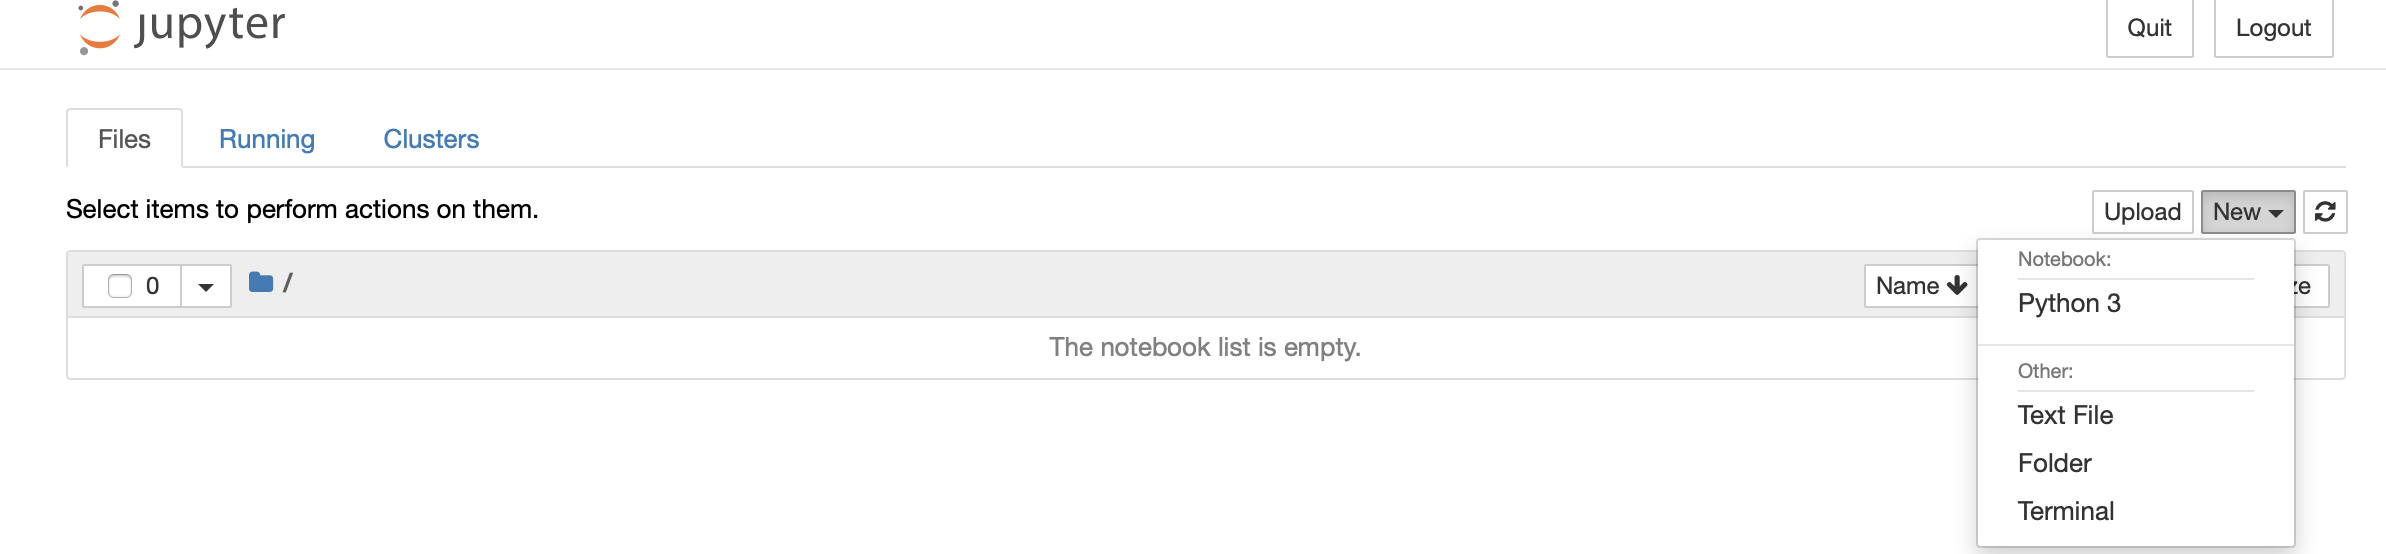 Navigate to the New dropdown menu and click on Text File. Rename this file
 prediction_app.py Back at New click on Folder to create a new folder. Rename it static. Inside this folder create a file and name it prediction.html
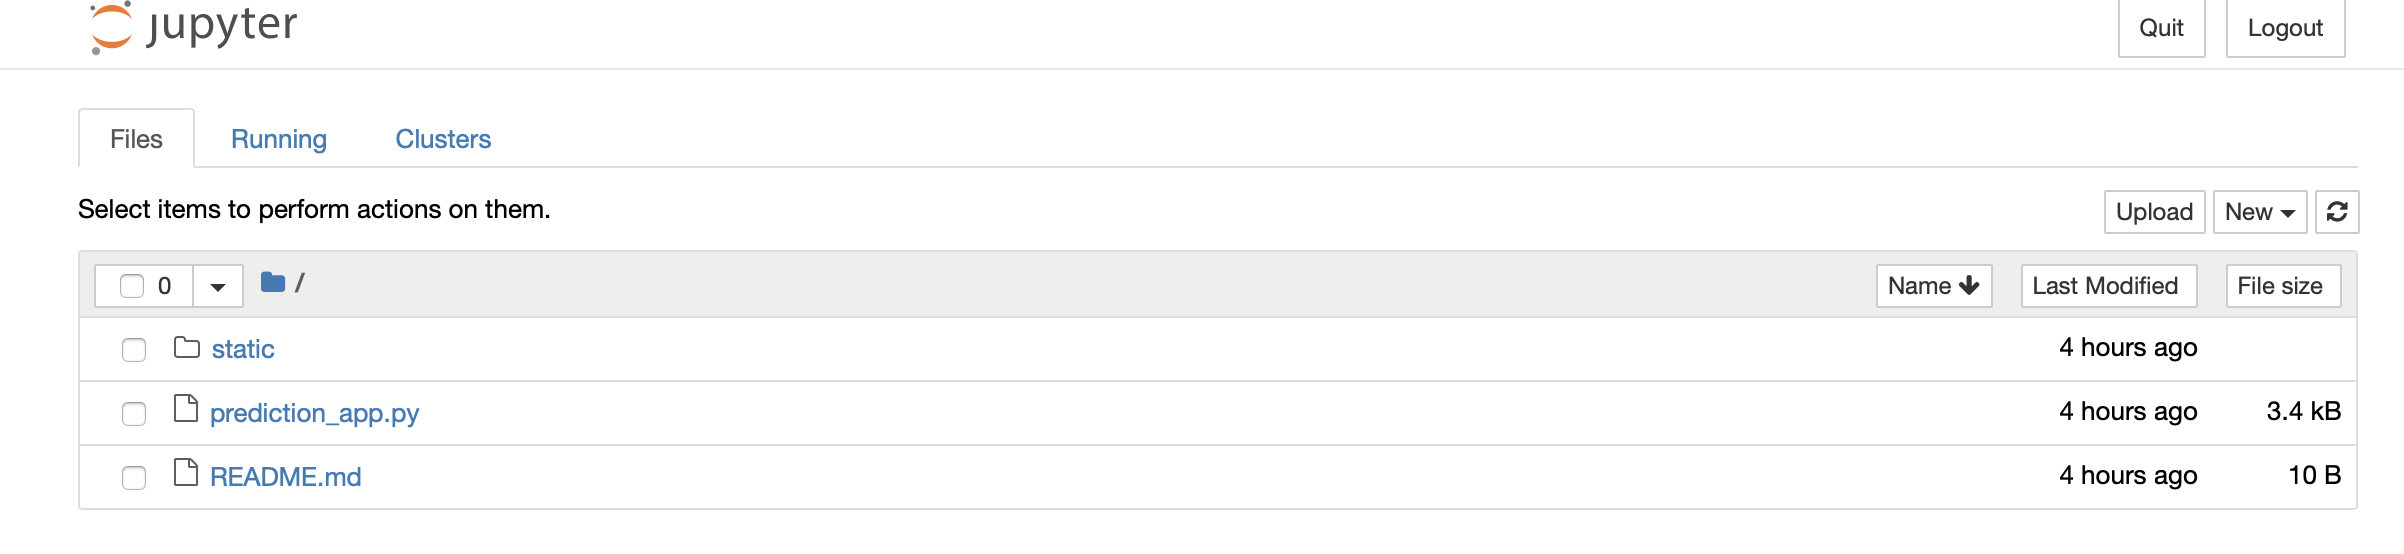
We will use the prediction_app.py and prediction.html files to build the flask app Back-End and Front-End respectively, as described in the following sections. Buckle up!
Back-End
1. Load the neccessary libraries
import numpy as np
import base64
import numpy as np
import io
from PIL import Image
from keras import backend as K
from keras.models import load_model
from keras.preprocessing.image import  img_to_array
from flask import request
from flask import jsonify
from flask import Flask
from keras.applications.imagenet_utils import preprocess_input, decode_predictions
from keras.applications.inception_v3 import preprocess_input as Inception_preprocess_input, InceptionV3
from keras.preprocessing.image import img_to_array
from keras.applications import imagenet_utils
import tensorflow as tf
import os
os.environ['TF_CPP_MIN_LOG_LEVEL'] = '2'
2. Create the App
app = Flask(__name__)3a. Load the model
The following function enables you to load your earlier saved Deep Learning model or one of several pre-trained models that comes with Keras package.
def load_model():
    global model, graph
    model = InceptionV3(weights="imagenet")
    print('--- Model loaded! ---')
    graph = tf.get_default_graph()
In this example we are using the pre-trained model, InceptionV3, designed by Google. Other pre-trained models included in the same package are VGG16, VGG19, ResNet50, Xception, MobileNet. These state-of-the-art models are trained on ImageNet dataset, and are commonly used in transfer learning to generalize classification outside of the ImageNet dataset.
Loading your earlier saved model could be done using the following function:
3b. Loading an earlier saved model
def load_model():
    global model, graph
    from keras.models import model_from_json
    # load json and create model
    json_file = open('/modelpath/SavedModel.json', 'r')
    Load_model = json_file.read()
    json_file.close()
    model = model_from_json(Load_model)
    # load weights into new model
    model.load_weights("/modelpath/SavedModel.h5")
    graph = tf.get_default_graph()
4. Prepare the Image
def prepare_image(image, target_size):
    # if the image mode is not RGB, convert it
    if image.mode != "RGB":
        image = image.convert("RGB")
    # resize the input image and preprocess it
    image = image.resize(target_size)
    image = img_to_array(image)
    image = np.expand_dims(image, axis=0)
    image = Inception_preprocess_input(image) ## for pre-trained models, use preprocess input in line with  the model  used. For custom model can use imagenet_utils.preprocess_input()
    # return the processed image
    return image
The function above will take in a given image and return a resized - to the size specified by target_size - and pre-preprocessed image ready for prediction. This function will be used within the predict function below.
5. Predict function
@app.route('/predict', methods = ['GET', 'POST'])
def predict():
    # initialize the response dictionary that will be returned
    message = request.get_json(force = True)
    encoded = message['image']
    decoded = base64.b64decode(encoded)
    with  graph.as_default():
        image  = Image.open(io.BytesIO(decoded))
        if image is not None:
            processed_image = prepare_image(image, target_size = (224, 224))
            prediction = model.predict(processed_image)
            prediction = decode_predictions(prediction, top= 1)
            response = {
                'predictions':{
                     'label': np.array(prediction[0][0][1]).tolist(),
                    'probability': np.array(prediction[0][0][2]).tolist()
                }
            }
         # return the response dictionary as a JSON response
            return jsonify(response)
        else:
            return None, 'Error loading Image file'
if __name__ == "__main__":
    print("\n*** Loading the Deep Learning Model ...... \n " )
    load_model()
    app.run()
In the snippet above, we have app route decorator with endpoint predict which allows both GET and POST requests as specified in methods parameter.
In this function:
- The JSON from the client POST request is first defined as a variable called message. The base64 encoded image from this varible is obtained and decoded.
- The decoded image is wrapped up by
io.BytesIO()and then passed onto PIL Image instance,Image.open(), which then opens the image file. - The image is pre-processed through the prepare_image function and the returned image is passed onto the loaded model for prediction.
- The predictions results are decoded and the top most is selected via
top = 1. This is an array consisting of class Id, class name and the confidence of prediction. - A variable called response is created. This is a python dictionary with a key called
predictionswhich is also a dictionary with two keyslabelandprobability. The values for these keys are the results from model prediction. They are converted from numpy array to a python list in order for jsonify function to work. - Finally, the response variable is converted to json, via jsonify function. This is what will be sent back to the client.
Copy and paste sub-sections, 1-5, above, with either 3a or 3b, in prediction_app.py file. Save your file.
Front-End
We will make Front-End using html and javascript. The entire script is shown below. I will explain briefly some elements within this file.
The head portion of the html: This is trivial and you can make edits to your liking.
In the body section, we have:
- The Input element of type file,
<input id='Img-selector' type='file'>, through which the user will browse and select images for predictions - The
predictbutton where the user will click to get the predictions. - A section with the header Results. In this section there are two columns that floats next to each other, with headers Predicted Object and Likelihood. This is where names of predicted images and their respective likelihood will be displayed upon prediction. The paragraphs in these columns are
object-nameandobject-predictionrespectively. - A paragraph with the header Image where the image selected using the Img selector will be displayed. The source attribute in the Image tag
<img id = 'selected-Img' src=''/>specifies the url of the image, intially an empty string because no image is selected yet.
We import jQuery via the script <script src = 'https://code.jquery.com/jquery-3.3.1.min.js'></script>
The second script tag embeds all the other javascript:
The jQuery change function triggers change event after the Image is selected from the browse button. The following happens:
- The file object is loaded via the FileReader
- The file from the file object is read and the base64 encoded content is logged to the console.
- The texts in the Results sections are cleared when a new image is selected.
The jQuery click function details the events after the predict button is clicked. In the function:
- A message variable is defined whose key is image and the value is the base64 encoded image.
- A POST request is made to the predict endpoint (in the Back-End), with message variable converted to json.
- The response contains predictions key whose values are label of predicted image and the corresponding probability. (These are from the repsonse variable explained in the Back-End)
- Once the response is obtained from the endpoint, the
object-nameandobject-predictionare set to predictions label and the corresponding probability respectively.
Copy the entire code below and paste it in prediction.html file. Save your file.
<DOCTYPE html>
<html>
    <head> <title> Richard Wanjohi, Ph.D Deep Learning </title>
        <style> * { font-size:20px;} </style>
    </head>
    <body style="background-color:#FFF8DC;" >
        <center>
        <p style='font-weight:bold; color:green; font-family:verdana' > Image Recognition using Deep Learning Model </p>
        <br>
        <input id='Img-selector' type='file'>
        <button id='predict-button' > Predict </button>
       <p>
       <style>* { box-sizing: border-box;}
/* Create two equal columns that floats next to each other */
.column {
  float: left;
  width: 50%;
  padding: 10px;
  height: 200px;
}
/* Clear floats after the columns */
.row:after {
  content: "";
  display: table;
  clear: both;
}
</style>
<h2>Results</h2>

<div class="row">
  <div class="column" style="background-color:#bbc; border-style:solid; border-color: black; border-width:2px">
    <h2> Predicted Object </h2>
    <p> <span id='object-name'; style=' color:blue; font-family:Comic Sans MS;' ></span></p>
  </div>
  <div class="column" style="background-color:#bbc; border-style:solid; border-color: black;border-width:2px">
    <h2>Likelihood </h2>
    <p> <span id='object-prediction'; style='font-weight:bold; color:blue' ></span> </p>
  </div>
</div>
       </p>
        <h2> Image </h2>
        <img id='selected-Img' src=""/>
        </center>
        <script src = 'https://code.jquery.com/jquery-3.3.1.min.js'></script>

        <script>
            //Triggering change event after the Image is selected from the Browse Button
            let base64Img;
            $("#Img-selector").change(function() {
                let reader = new FileReader();
                reader.onload = function(e){
                    let dataURL = reader.result;
                    $('#selected-Img').attr("src", dataURL);
                    base64Img = dataURL.replace(/^data:image\/(png|jpeg);base64,/, "");
                    console.log(base64Img);
                }
               // read the file from the file object
                reader.readAsDataURL($("#Img-selector")[0].files[0]);
                // the following clears the texts on the page when you select the next image
                $("#object-name").text("");
                $("#object-prediction").text("");
                });

            $("#predict-button").click(function(event){
                let message = {
                    image: base64Img
                }
                console.log(message);
                $.post("http://127.0.0.1:5000/predict", JSON.stringify(message), function(response){
                    $("#object-name").text(response.predictions.label);
                    $("#object-prediction").text(response.predictions.probability.toFixed(4));
                    console.log(response);
                });
            });
        </script>
    </body>
    </html>
Back to the terminal, use Control-C to shut down the jupyter notebook, then start the Flask app as follows.
$ python3 prediction_app.pyIf everything is correct, so far, you should see something similar to this:
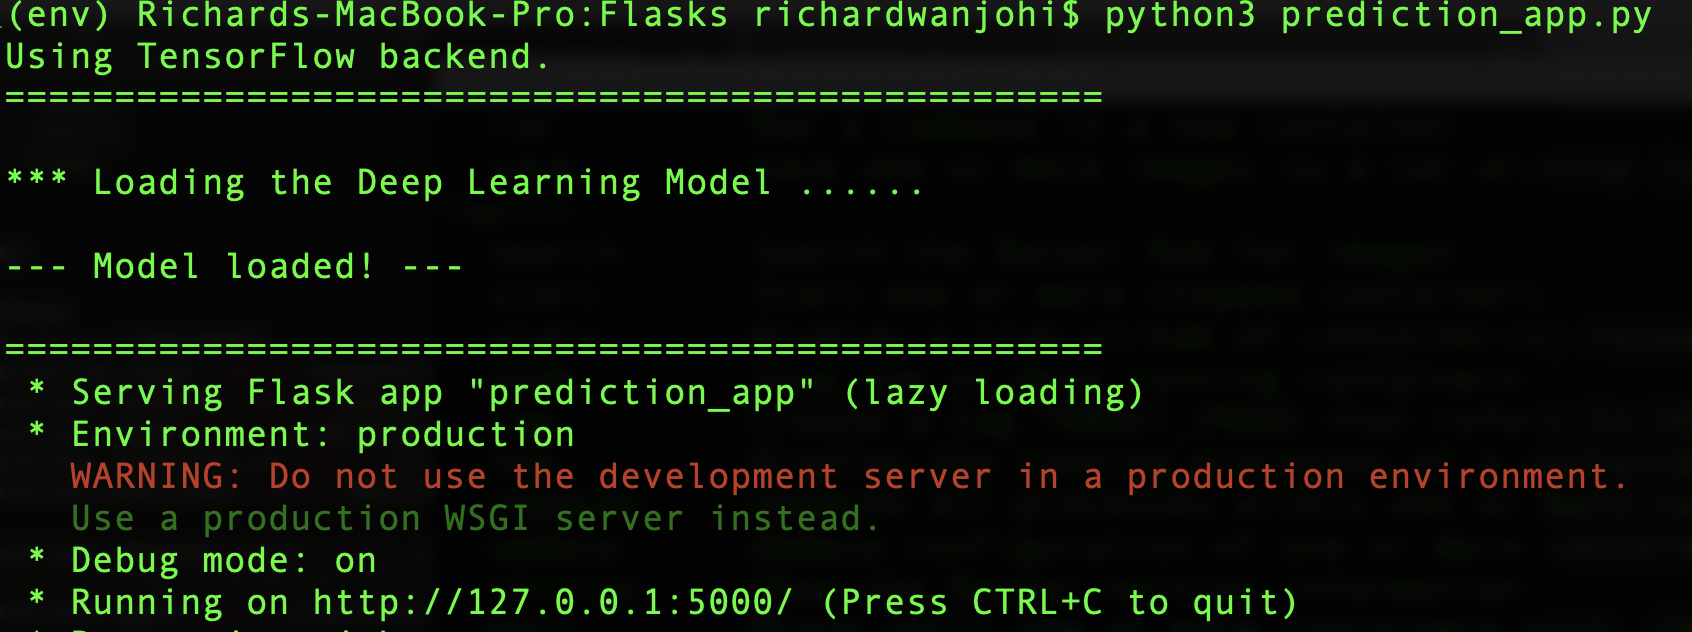
Proceed to your browser and paste http://127.0.0.1:5000/static/prediction.html . You should see your Front-End
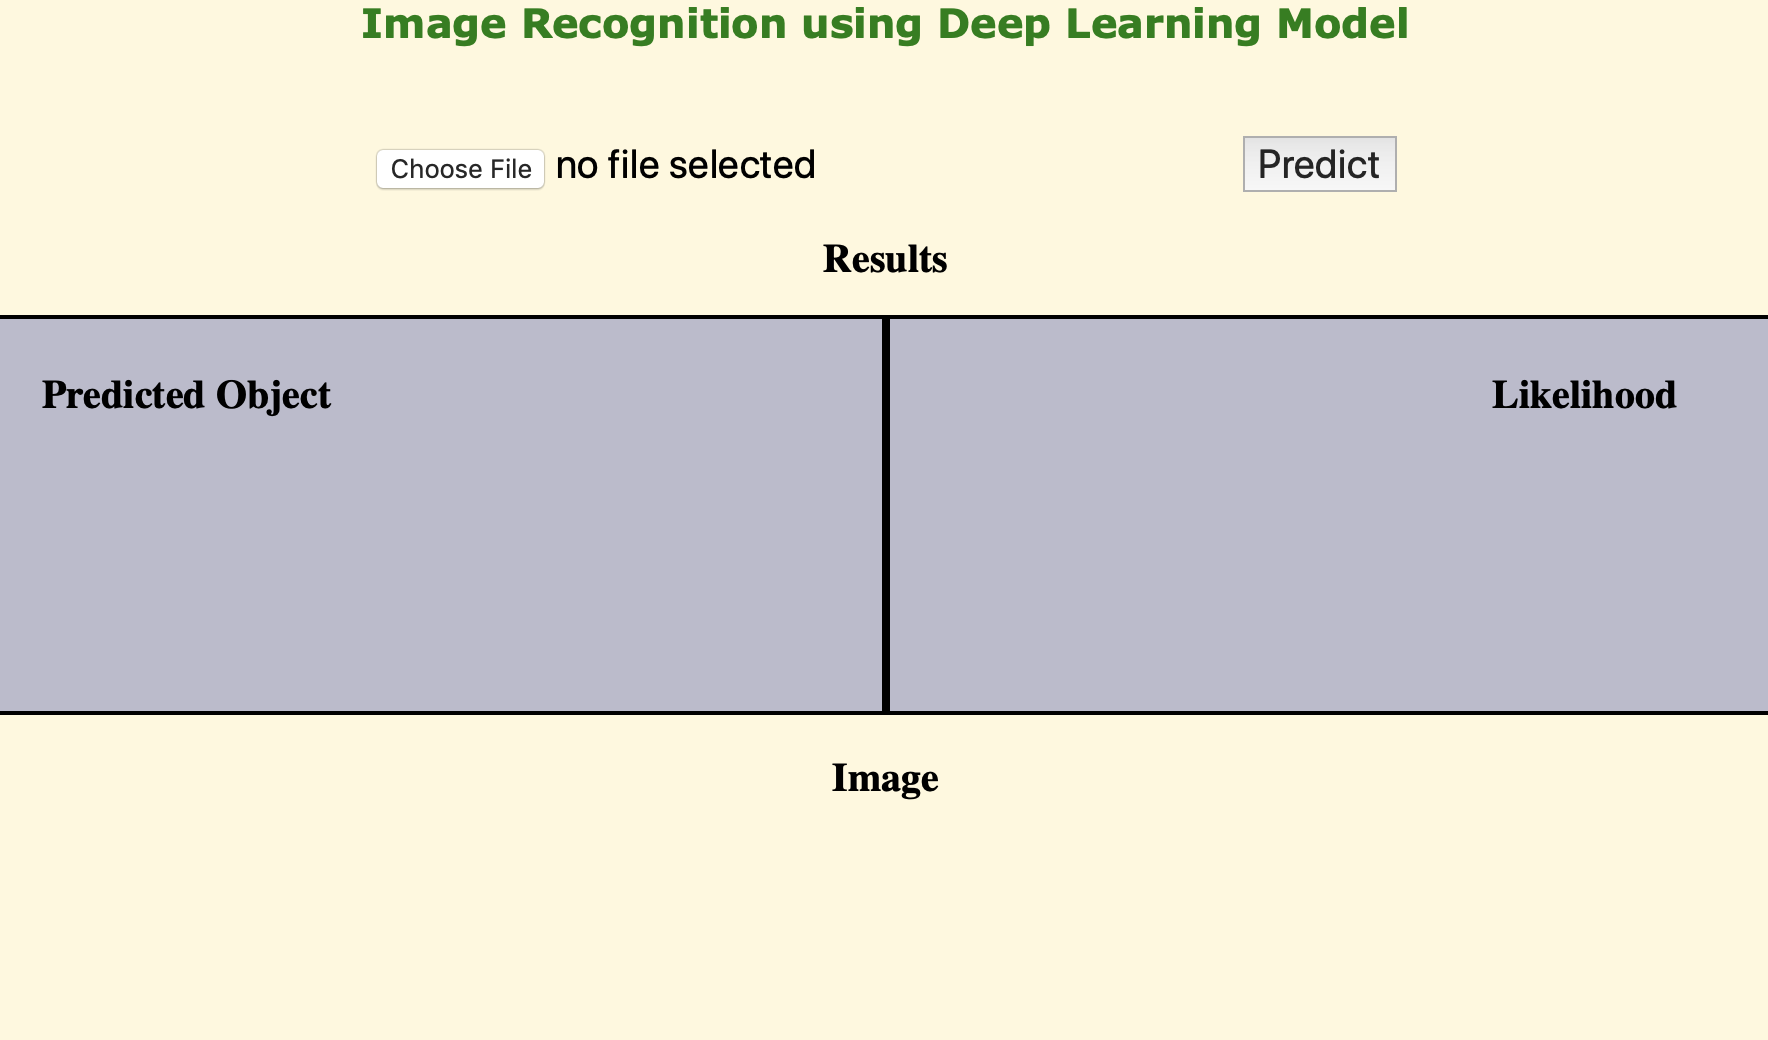
Choose a file, a png or jpeg, click Predict and ……………… viola!!
Notes
Regular ML models - regression or classification problems - can also be served using Flask web service. You will only need to tweak the predict function a bit and craft your Front-End accordingly. An undauntaing task, in my view.
In this tutorial, we only obtained the top most prediction result. To get more results, like the ones displayed in the figure above, use top = 3, adjust the predictions dictionary in prediction_app.py and modify the response function in prediction.html accordingly.
Get the entire code from my Git repo